

How To Install Canon Pixma Pro 100 On Mac
Standard USB Connection Method
Step 1
1. Insert the CD that came with your printer and run the setup.
Windows Users – If the "Setup CD-ROM" does not autorun, insert the CD-ROM into the computer again and click on [My Computer], select the CD-ROM and double-click [MSETUP4.EXE].
Windows 8 users - double-click [Canon_IJ]. When the selection window opens, double-click the [MSETUP4.EXE].
Mac Users – Double-click the [Canon_IJ] icon mounted on your desktop. When the selection window opens, click [SETUP] to start the software download link.
If you do not have the installation CD that came with your product, please download the manuals and software to continue.
2. When the initial screen appears, click on [Next].
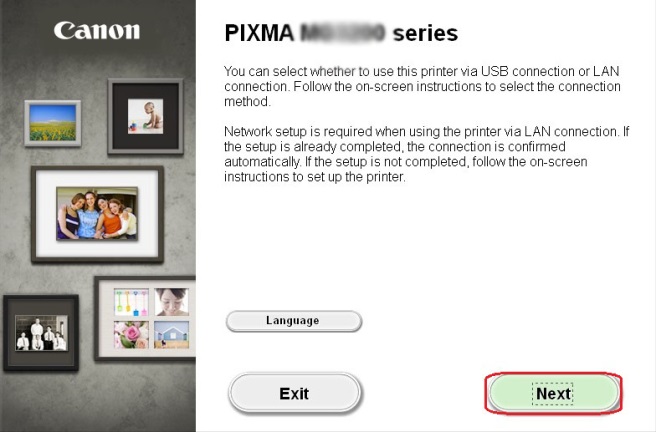
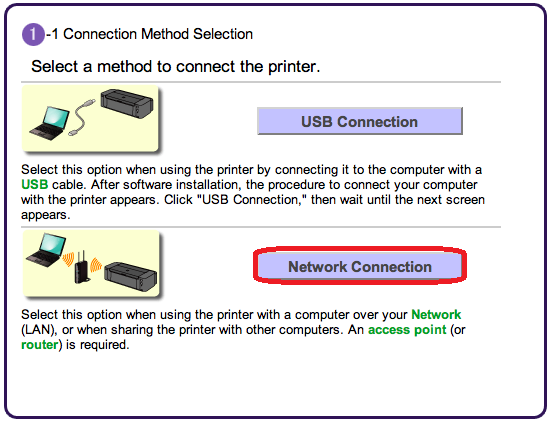
Please note: Some models that are also equipped with a wired network connection, may have an additional screen asking you to select between a USB or Network connection. If you see this screen, please select [Network Connection].
3. Select [Wireless Connection] as a connection method.

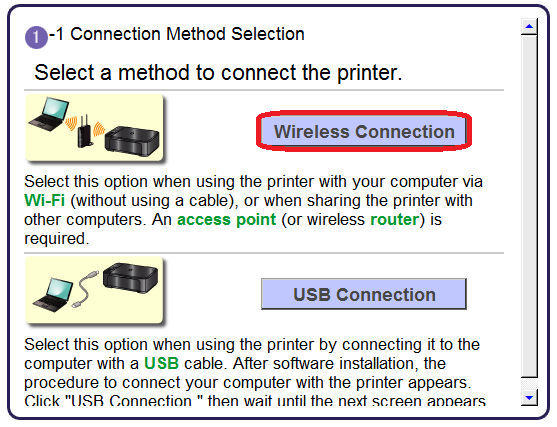
4. Ensure that your printer is turned on, make sure the power lamp is on and then click [Next].
Step 2
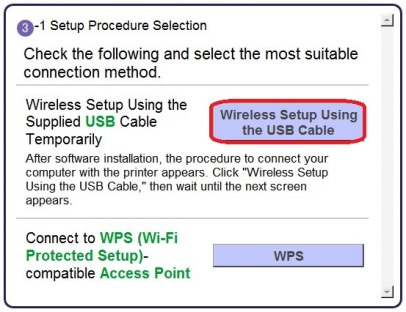
1. Click on [Connect to the network].
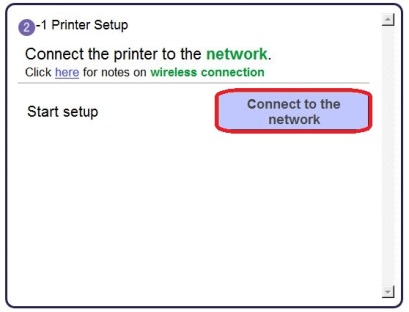
2. When the following screen appears, click on [Wireless Setup Using the USB Cable ].
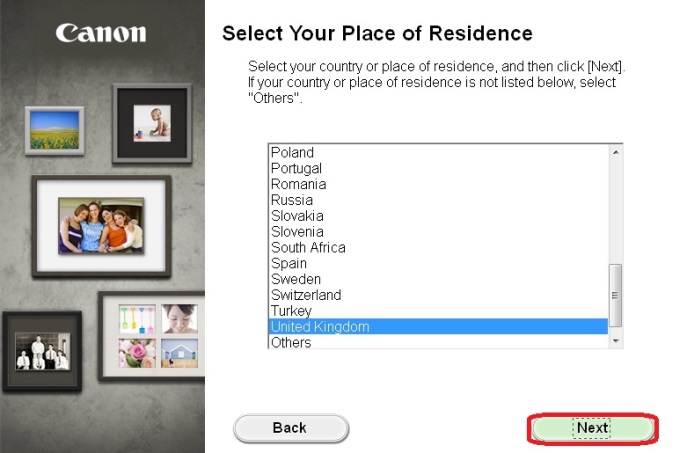
3. When the following screen appears, select your region, and then click on [Next].

4. When the following screen appears, select your language, and then click on [Next].
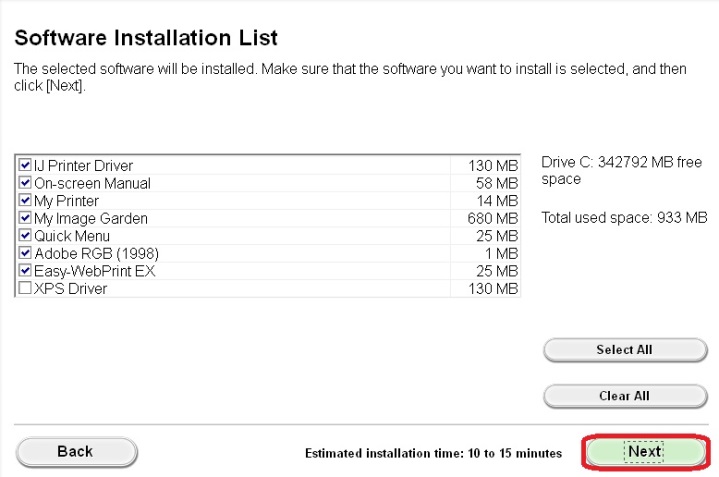
5. When the following screen appears, select the software you wish to install, and then click on [Next]. If you're not sure which software you want to install at this stage, don't worry, as you can always uninstall it at a later stage if you wish.
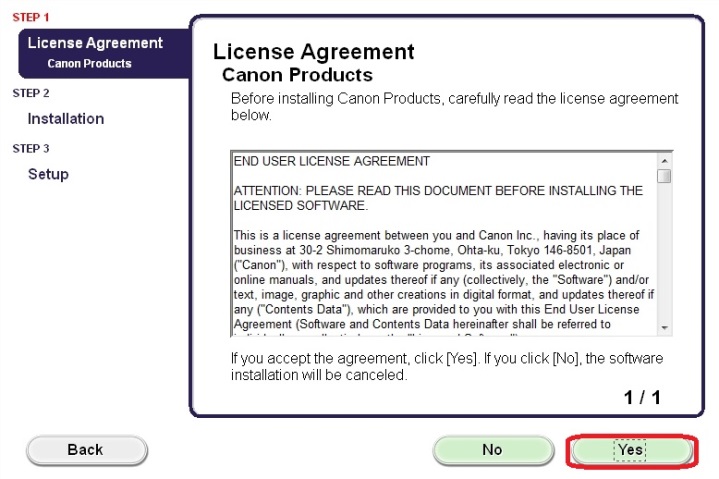
6. When the following screen appears, click on [Yes] to agree to the end user license agreement.
<Windows users only>
When the following screen appears, click on [Next]
7. When the following screen appears, click on [Next].
Windows Users
![]()
Mac Users
Step 3
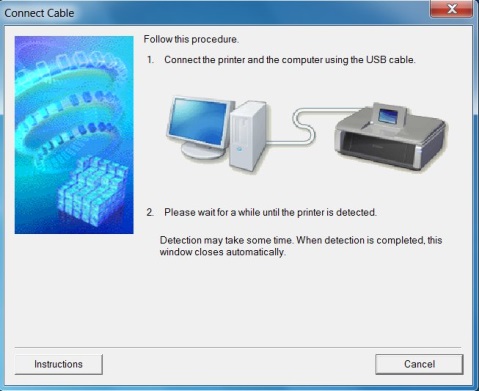
1. When the following screen appears, connect your printer to your computer using the supplied USB cable. This is the cable with the  symbol on the connector.
Windows
Mac
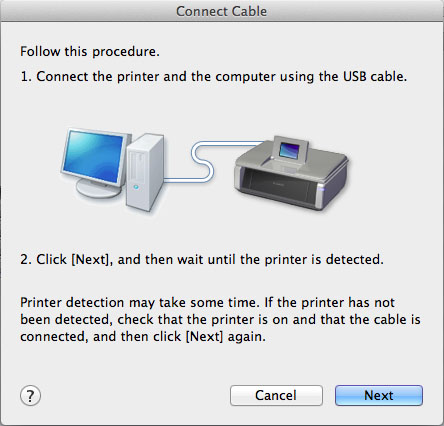
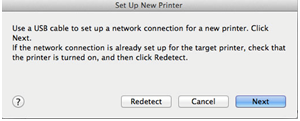
(For Mac users, click [Next]).
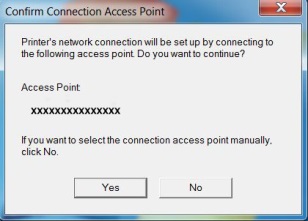
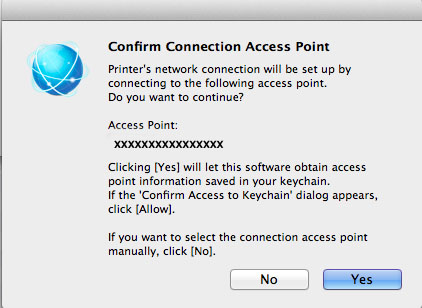
2. Once your printer has been detected, the following screen will appear. The name of the access point that your computer is connected to will be displayed (where "xxxxxxxxxxxxx" is shown). If this is the wireless network you want your printer to connect to, click on [Yes].
Windows
Mac
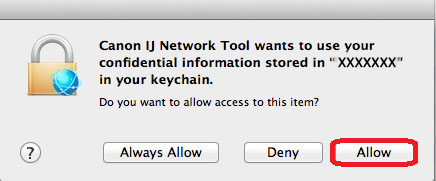
<For Mac users only>
When the following screen appears, click [Allow].
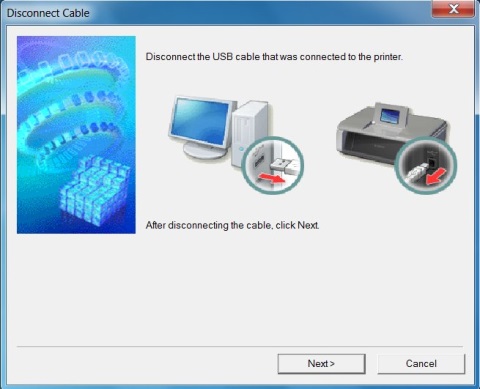
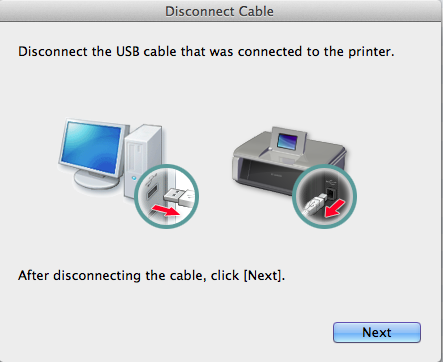
3. When the following screen appears, disconnect your printer from your computer and click [Next].
Windows
Mac
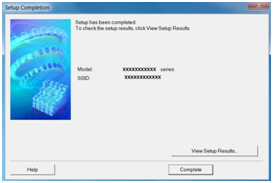
4. The following screen indicates the model of your printer and the name (or SSID) of your wireless network.
Windows
Mac
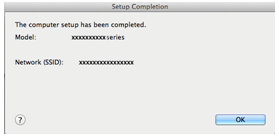
Click [Complete]. Click [OK].
This concludes the Windows setup
<For Mac users only>
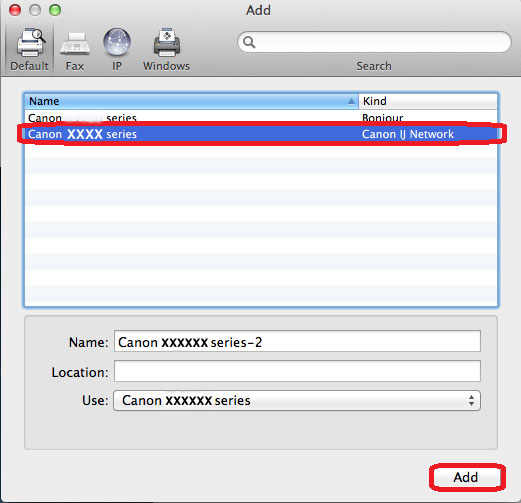
When the following screen appears, click [Add Printer].
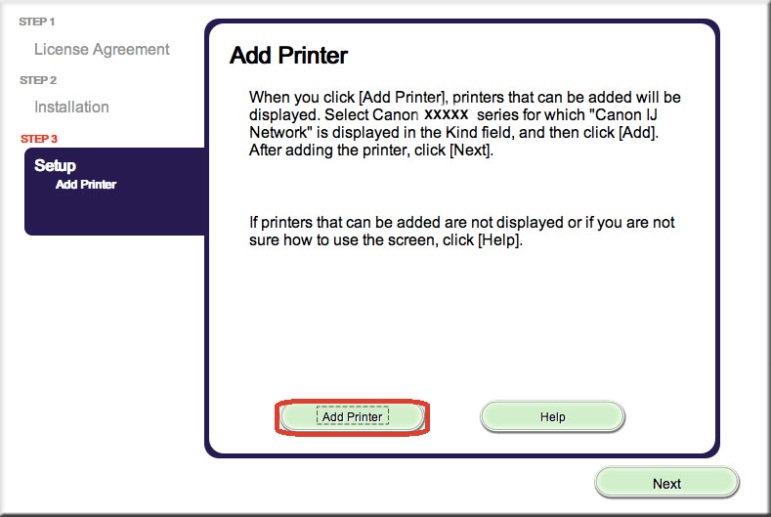
In the following screen, select the Canon IJ Network driver version and click [Add].
This concludes the Mac setup.
If the wireless setup is still failing after following this guide, please contact us for further assistance.
How To Install Canon Pixma Pro 100 On Mac
Source: https://en.canon-cna.com/support/consumer_products/pixma_printer_wireless_connection_setup/pro100_printer_wireless_connection_setup/
Posted by: weinsteinabity1998.blogspot.com
0 Response to "How To Install Canon Pixma Pro 100 On Mac"
Post a Comment